
Blog
Five Tips for Starting in Colored Pencil
by Anne Kostecki

Hello! I've been thinking about some content ideas for my blog, and I realize that I've been asked a lot of questions about starting out in a new media. And as a lifelong student myself, I understand the trepidation when trying out a new instrument for the first time. I ask myself, do I have all of the right supplies? Is this the right way to use this thing? Am I pressing too hard, too lightly, can I erase or cover up mistakes? If you've ever asked yourself these questions, you are not alone!
After learning pencil and pen/ink, I recommend that art students try out colored pencil. It's a great way to learn color, and there's no messy water media to worry about. I've gathered some tips I've learned over the years, and I hope they are helpful to you if you are considering trying out colored pencils.
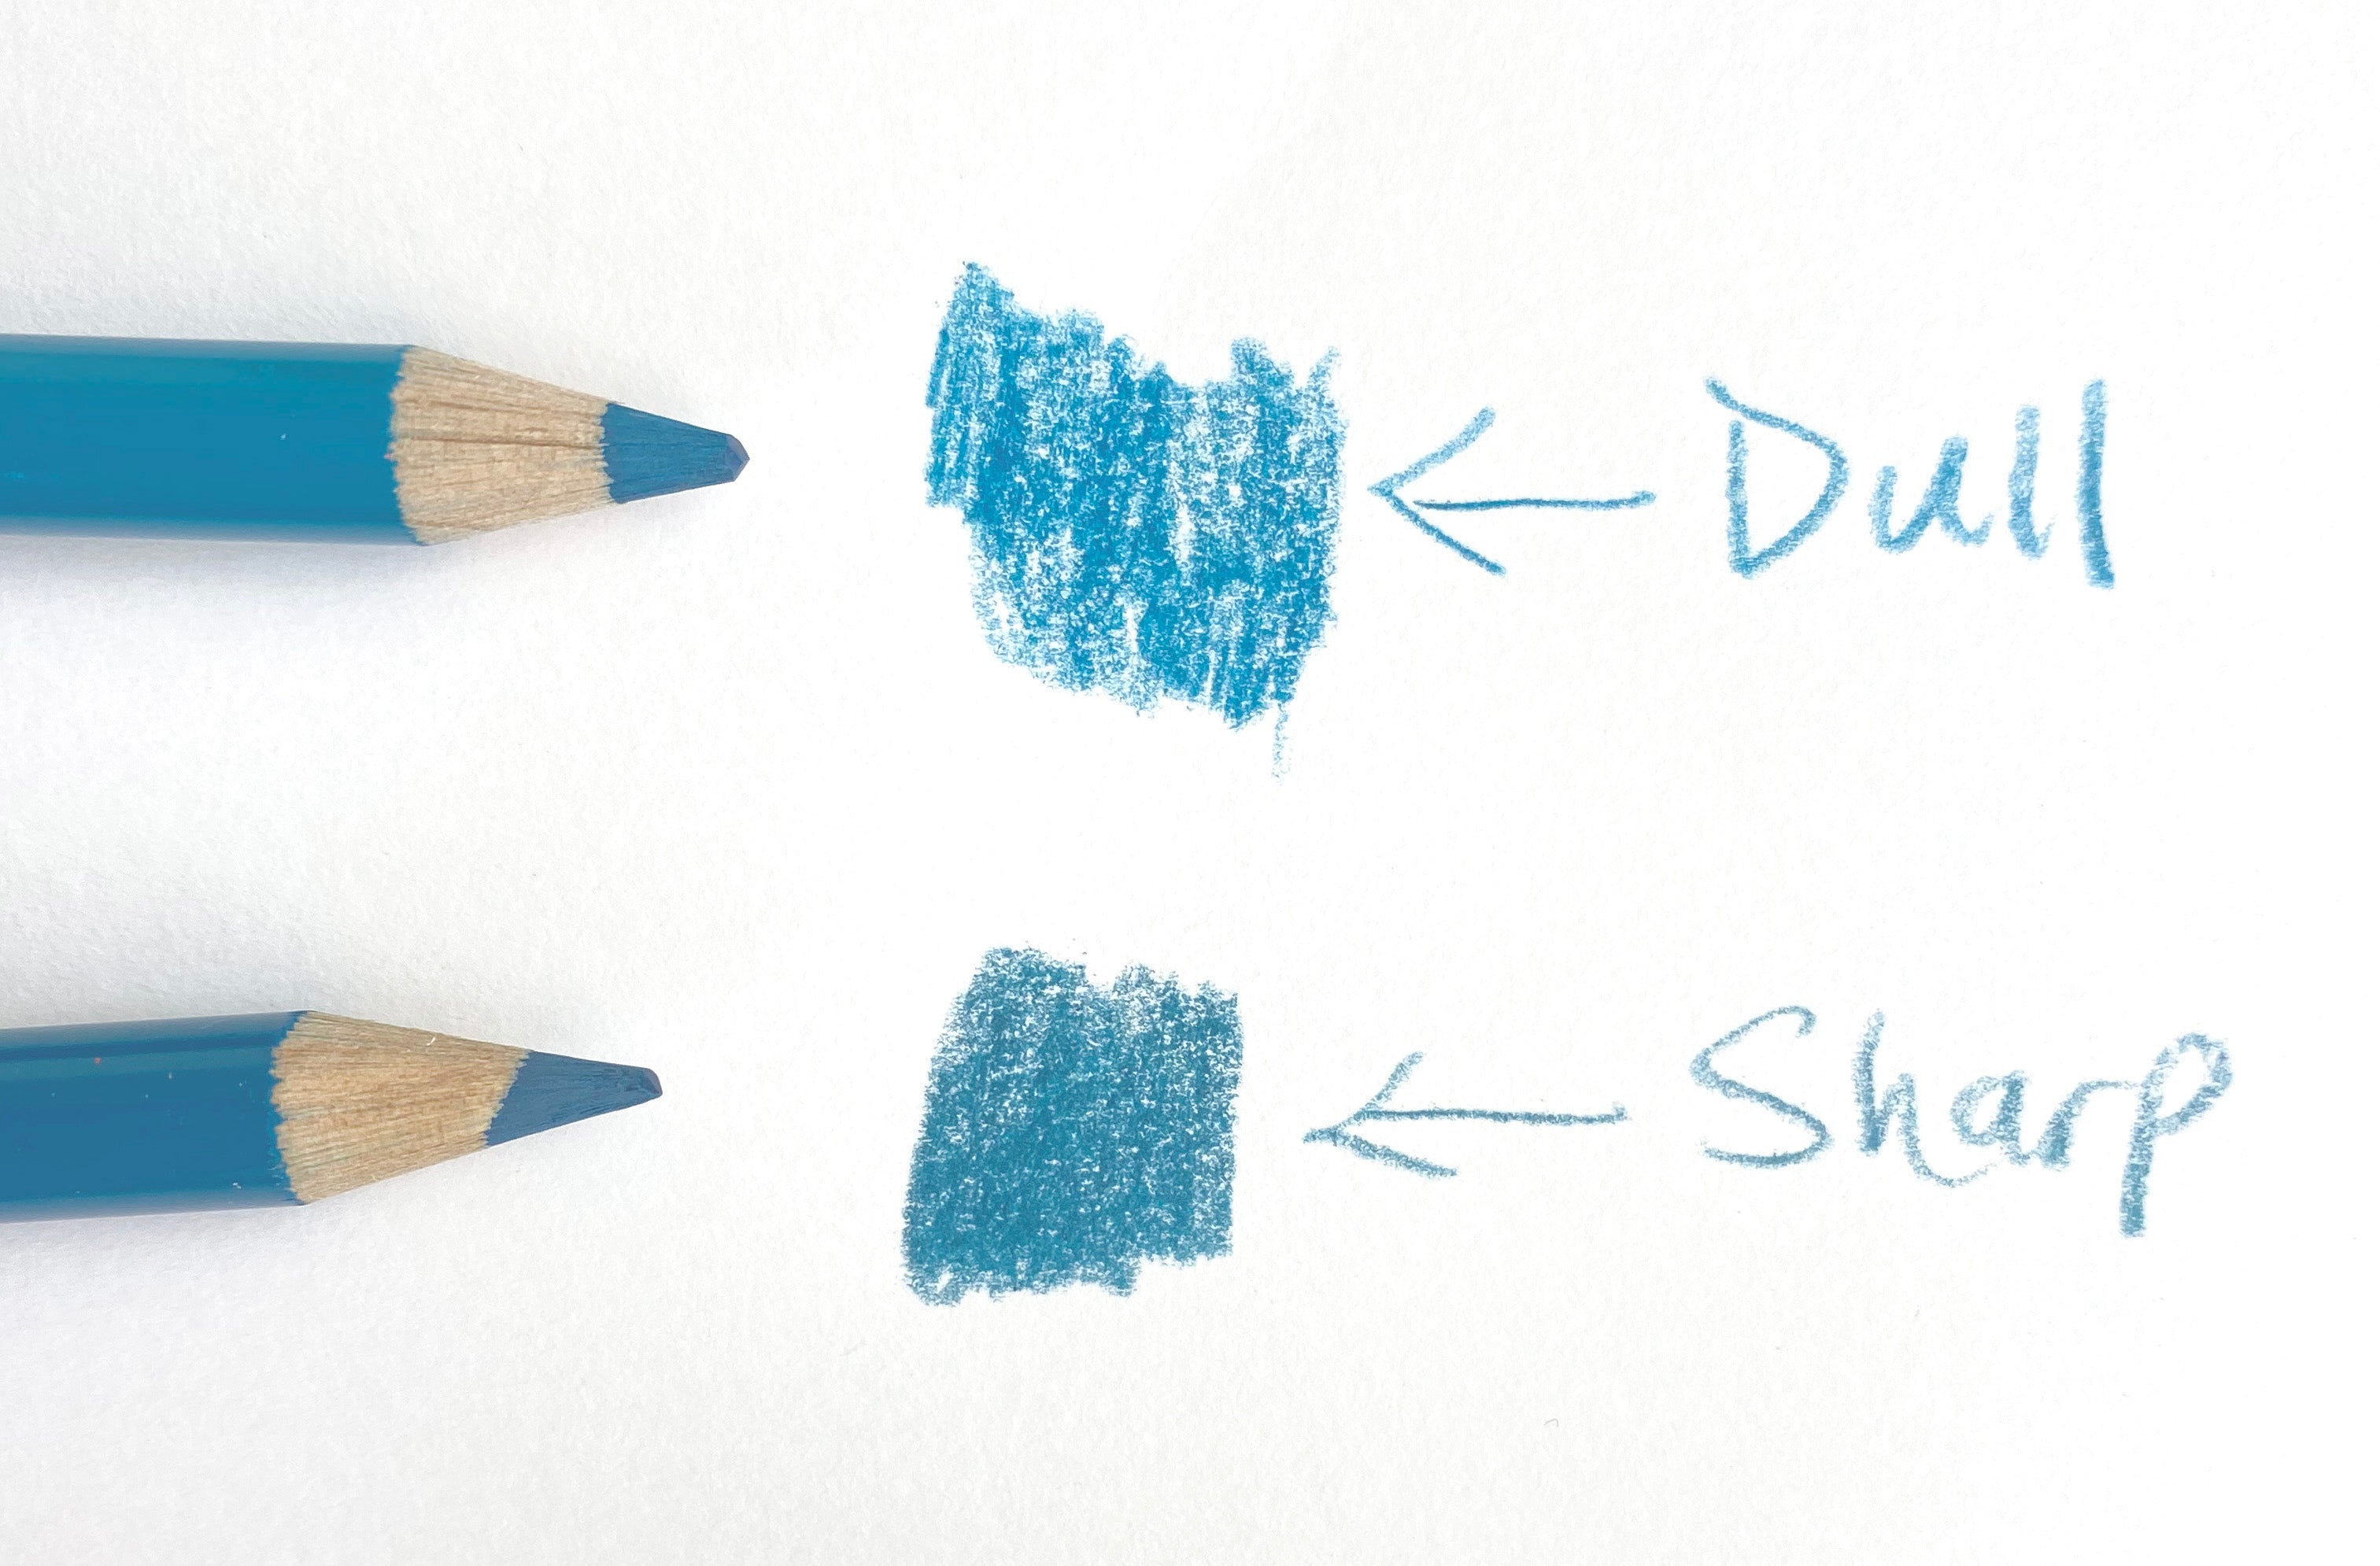
1. ALWAYS keep the pencils as sharp as you can!
This has been a game-changer for me. The difference between a sharp pencil and a dull one is just like the difference between a sharp chef's knife and a dull one: efficacy! A sharp pencil will be much easier to layer and blend, and will take much less effort to color. Paper has tooth: meaning there are tiny, almost imperceptible nooks that give it texture. Sharp pencils give you much more maneuverability into these tiny nooks, therefore better coverage. Plus, you can control how lightly the color is applied, leaving more room for correcting errors.
2. Think in layers! Start with the lightest color you see, and gradually darken.
It might take some time and training for you to see all of the colors that make up your subject. But if you take your time and really study, you can see all of the colors that make up an image. First and foremost, I recommend shading lightly, as impatient as you may be (and I am too!). Once you press hard, it's very difficult to make any changes.

Here are some quick tips:
- Layering complementary colors usually darkens them, but more importantly, reduces their intensity (and makes them more neutral, toward the grayish/brownish part of the spectrum).
- Pressing harder adds more pigment and saturates a color, but does not darken it.
- You can darken a color several ways, depending on your goal. You can layer the next color over (if you're using red, by adding purple or blue) depending on if you want to cool the color or warm it up. Use dark brown (for a warm dark) or dark blue (for a cool dark) before black. Once you've added black, you can't go back!
- It's difficult to lighten a color; that's why I recommend working lightest to darkest. If you need to lighten a color, layer over it with a lighter hue of the same color before resorting to white or pale yellow. This is why it's important to layer LIGHTLY too! Once you press hard, it's hard to lighten colors on top.
- I highly recommend buying a colored pencil blender: it's a clear-ish looking dual-ended pencil that looks like it's "wetting" your paper, but is actually smoothing out all of the pigment. Don't worry: it won't dry as dark as it looks when you initially use it! In fact, I sometimes use layers of blends over pencils, back and forth. It'll give you a super smooth finish.
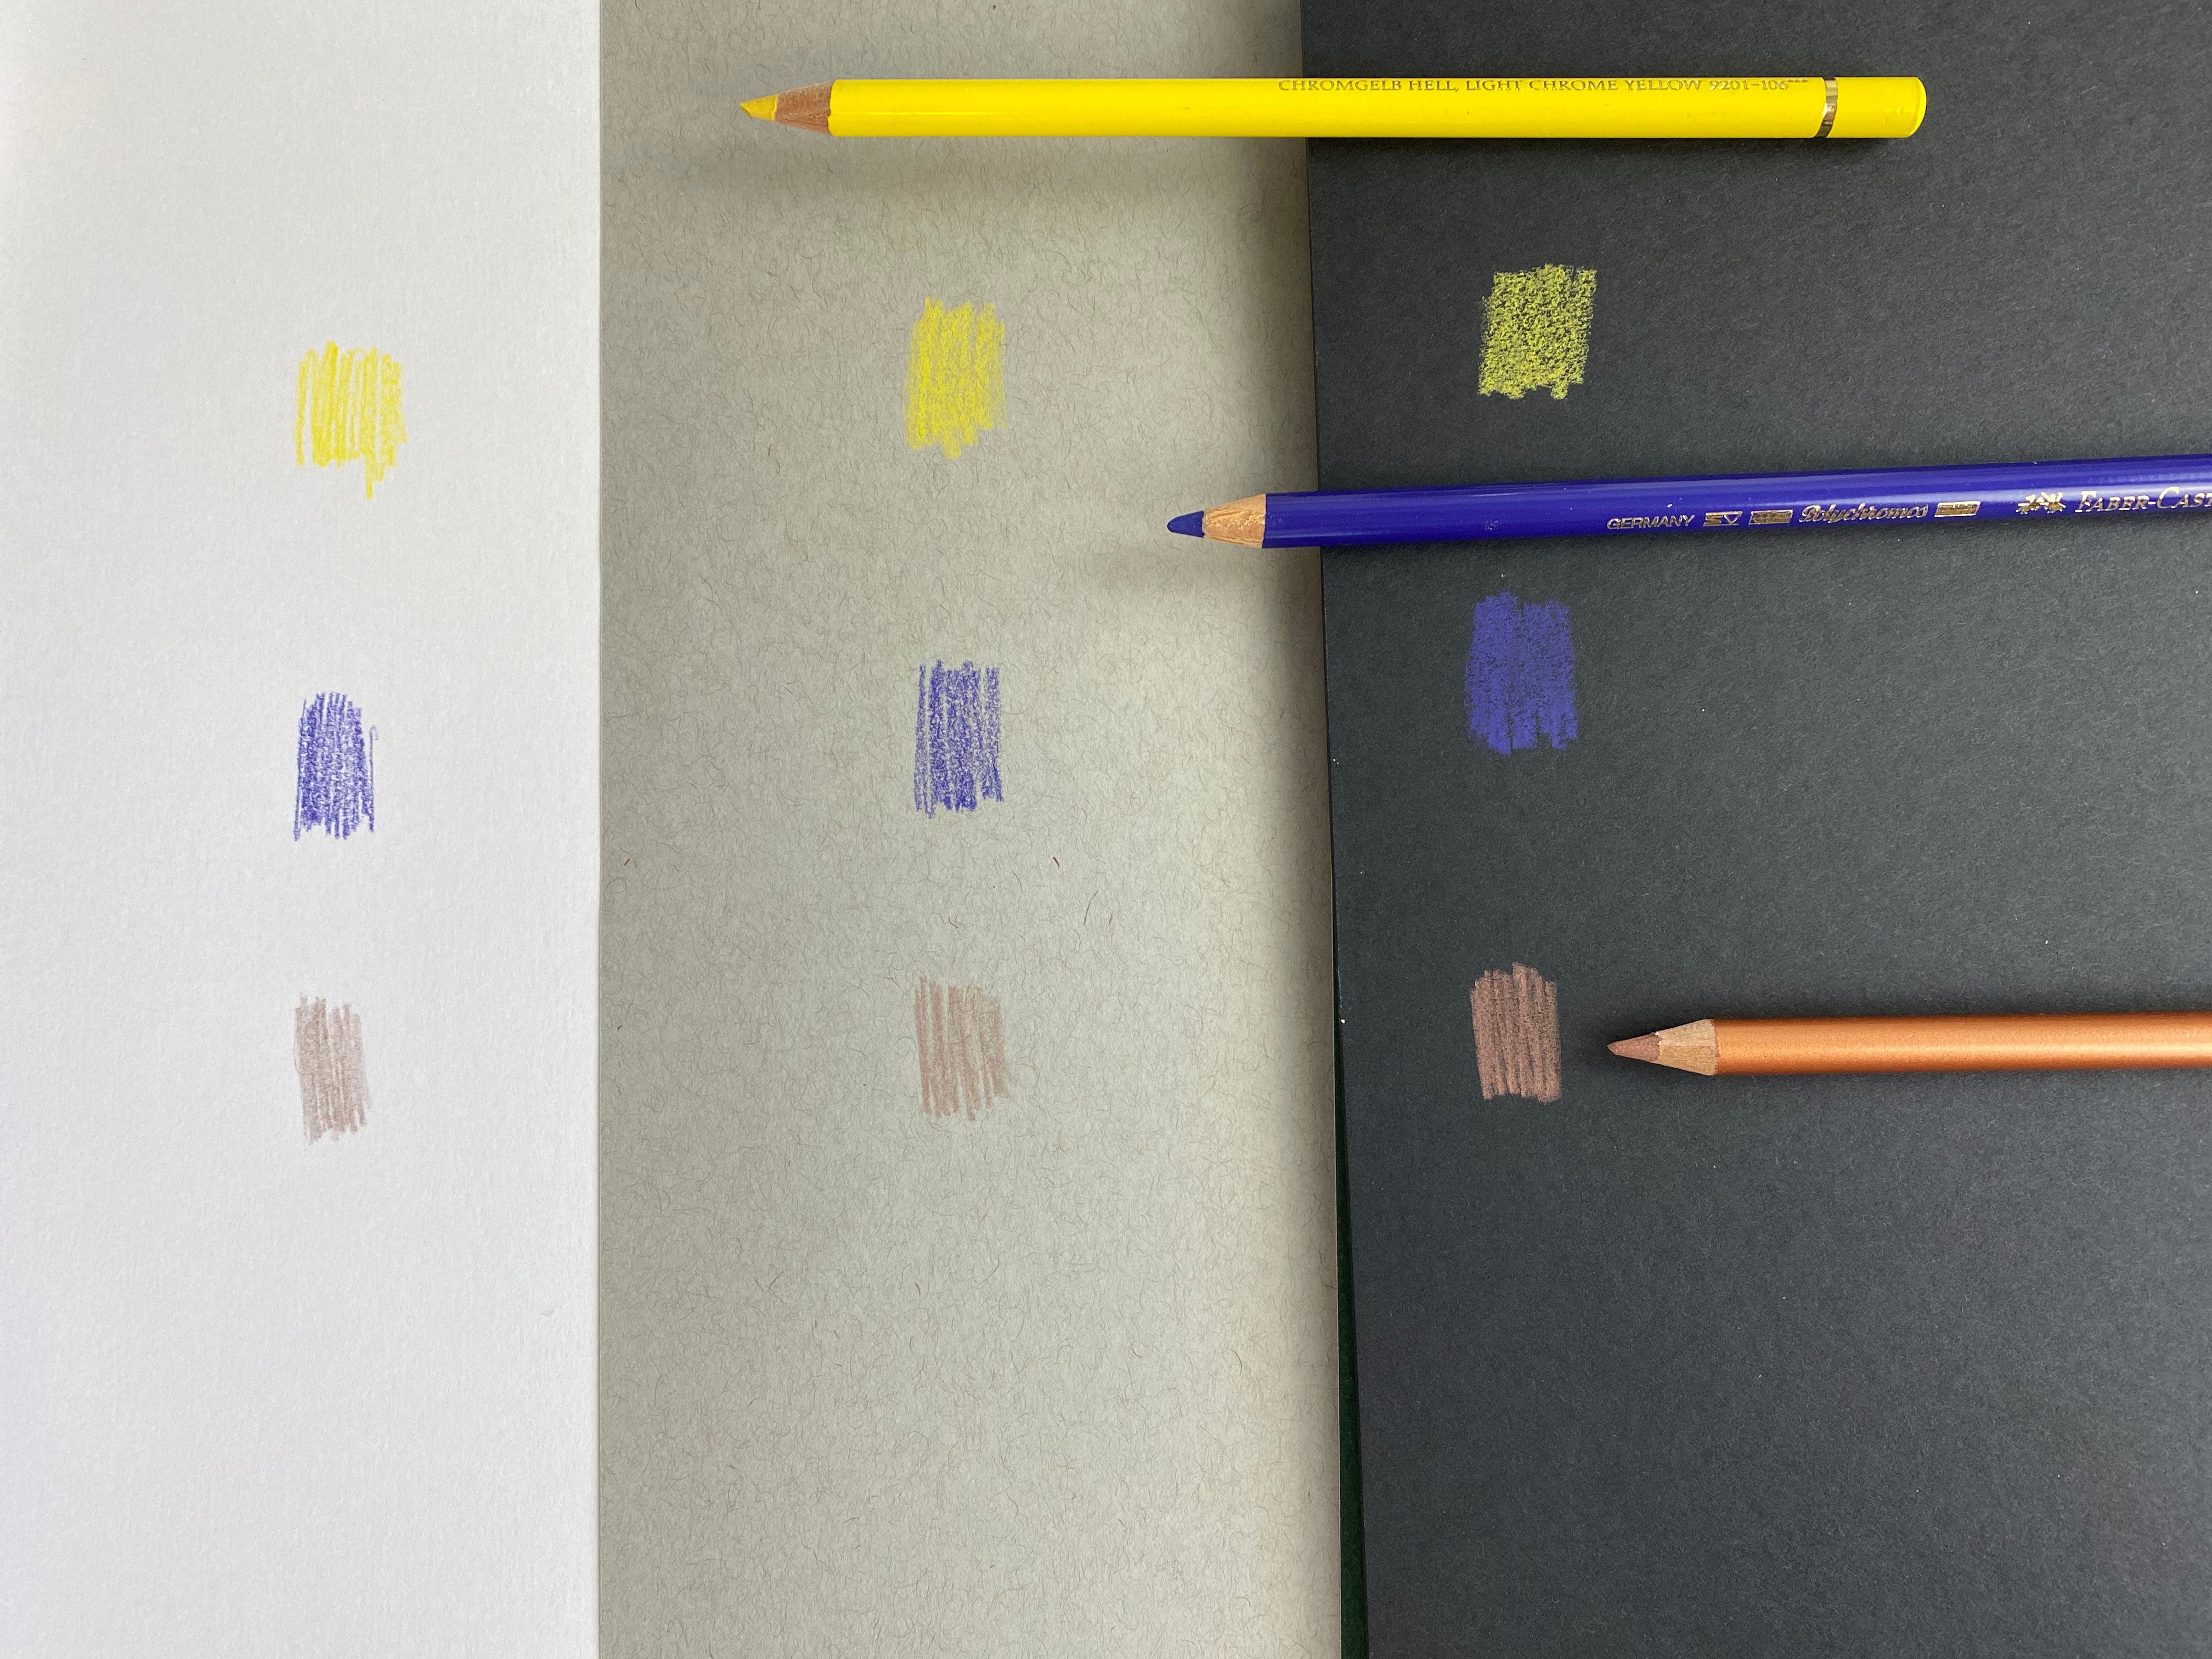
3. You can use a variety of papers, in a variety of colors.
Examples of good paper choices are: mixed media paper, bristol paper with vellum finish, illustration board, and artisan papers. Stonehenge paper is a great option because it is 100% cotton and has great tooth. Bristol paper with vellum surface has a nice weight and color to it. Illustration board is a great option for colored pencils because it is tough and can withhold the pressures of burnishing or solvent blending. There are tons of paper selections, and experimenting with different kinds will help you find the best option for yourself and your budget.
I also love trying out different colored paper. Currently, I have a white pad, a toned gray, and a black one. To show you how the same color can look different on different papers, I took the same yellow, purple, and metallic bronze pencil and drew a quick color swatch. See how different they look? The most striking difference to me is the difference between the bronze on the white paper and the black!
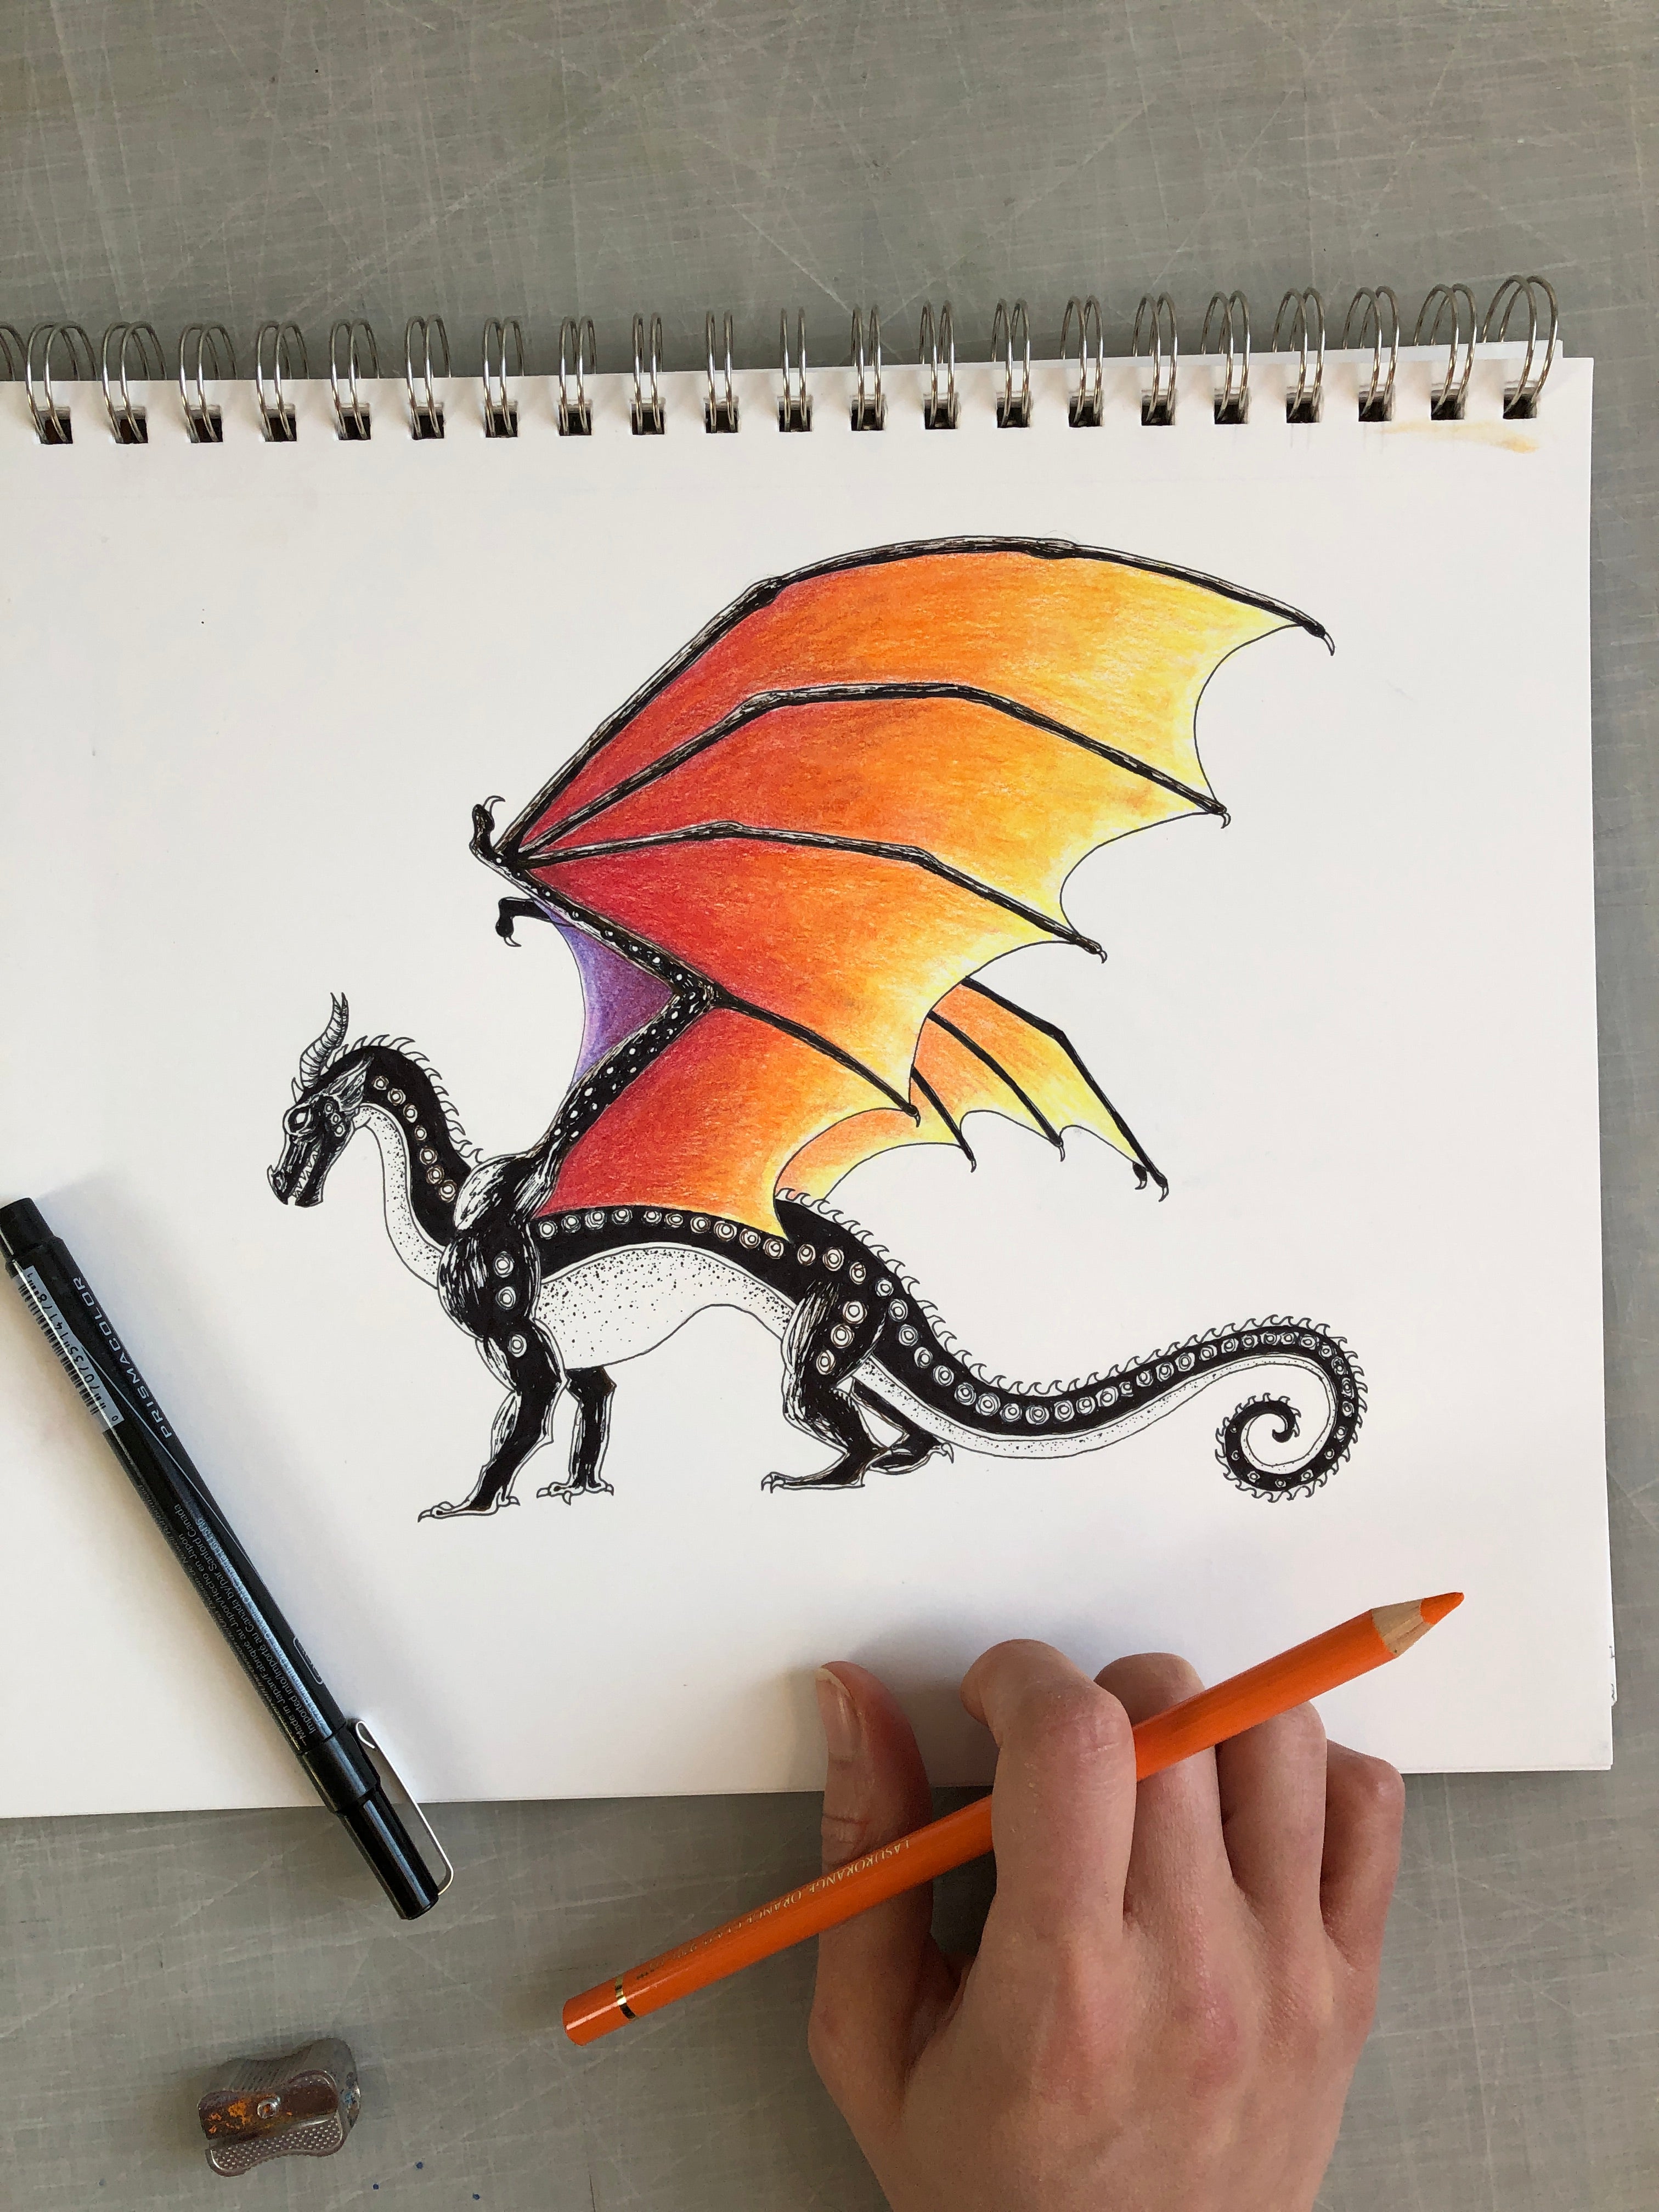
4. Plan where each color will go.
Colored pencil is a medium that rewards planning. Unlike water media, colored pencil is entirely without your control. When you have your pencil sketch, you can "tag" color blocked areas with swathes of color so you can have a good idea of how the image will look. This is especially helpful for tricky subjects like glass, water, metal, and other reflective or complex surfaces. You can do a sort of "paint by numbers" way by outlining certain patches of color and filling them in, or you can start from the lightest parts of the image and gradually fill in darker and darker. Or, you can do what I do, and work sort of randomly filling in light colors and outlining dark parts until your brain has wrapped around what it wants to do. The possibilities are endless!
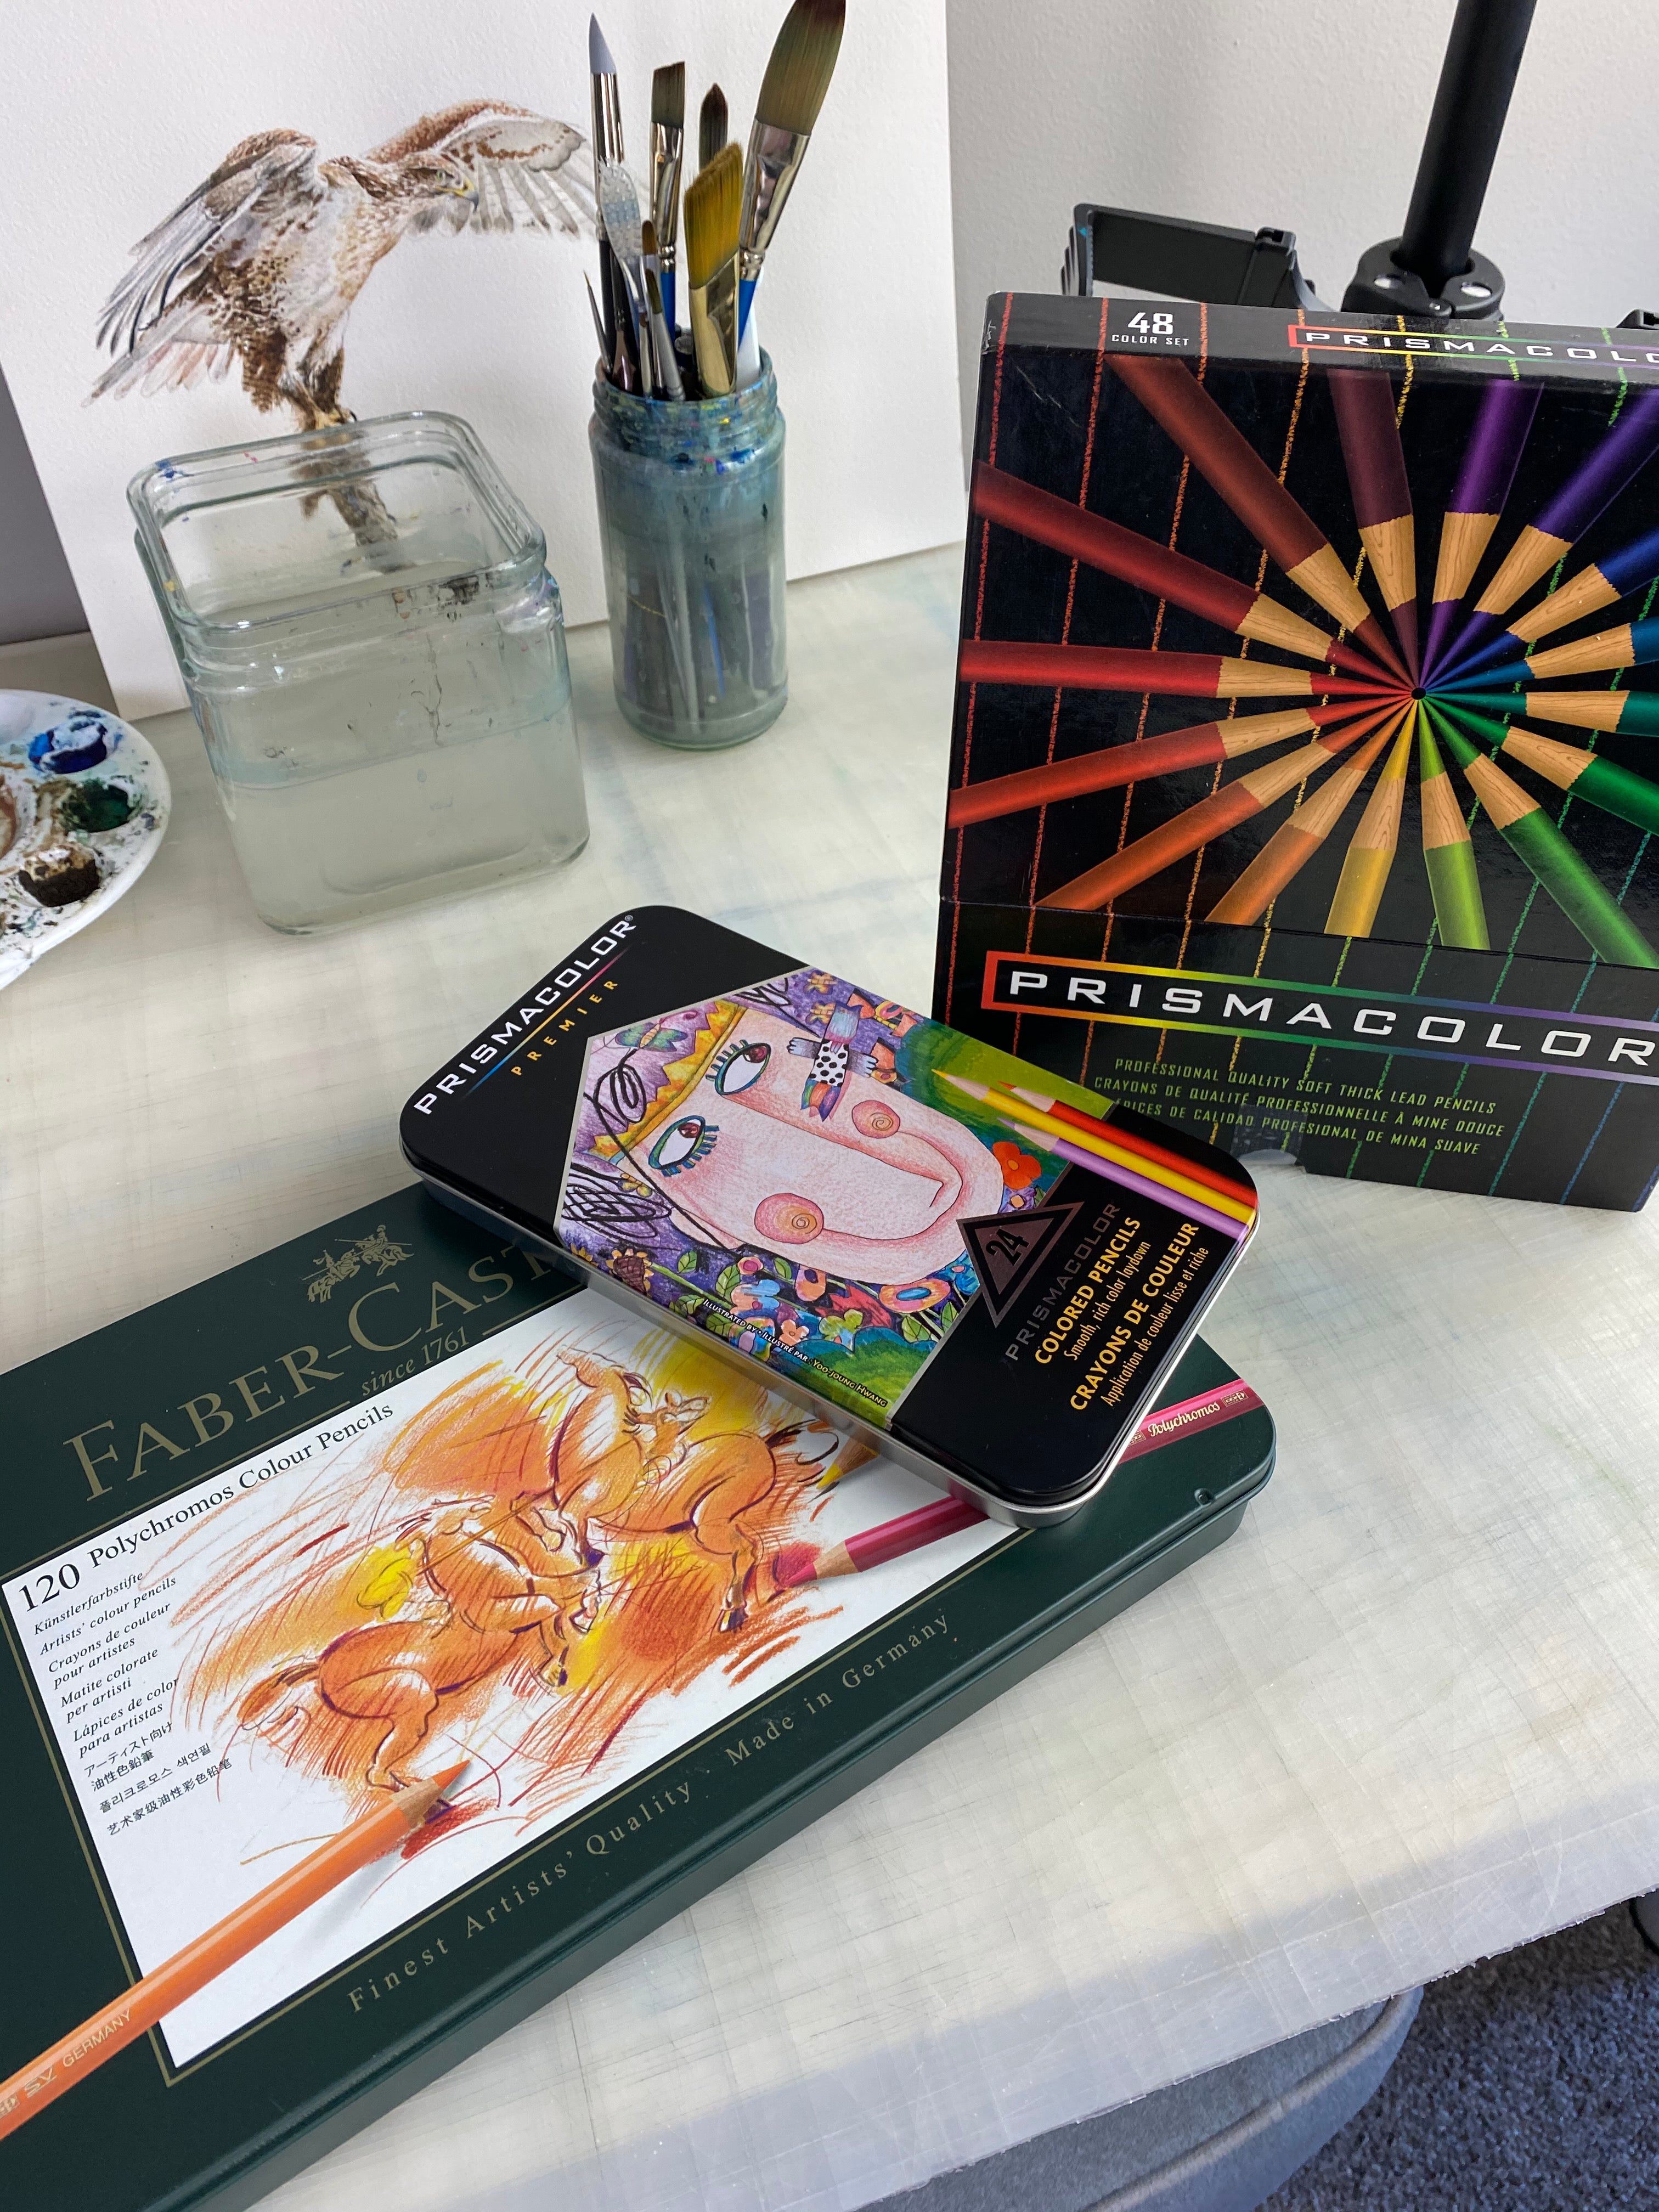
5. It's better to have a few colors in a high-quality brand than a whole set of low-quality pencils.
This is true for any art media: quality/brand matters! If you're buying the cheapest, school-grade art supplies money can buy, you will know it immediately. I don't recommend artists buying any off-brand or no-brand pencils (like the colored pencils from the school supply section of Target or Walmart). The pigments are not as powerful, the pencils don't blend as well, and you may even have to spend more time sharpening them to achieve the same results.
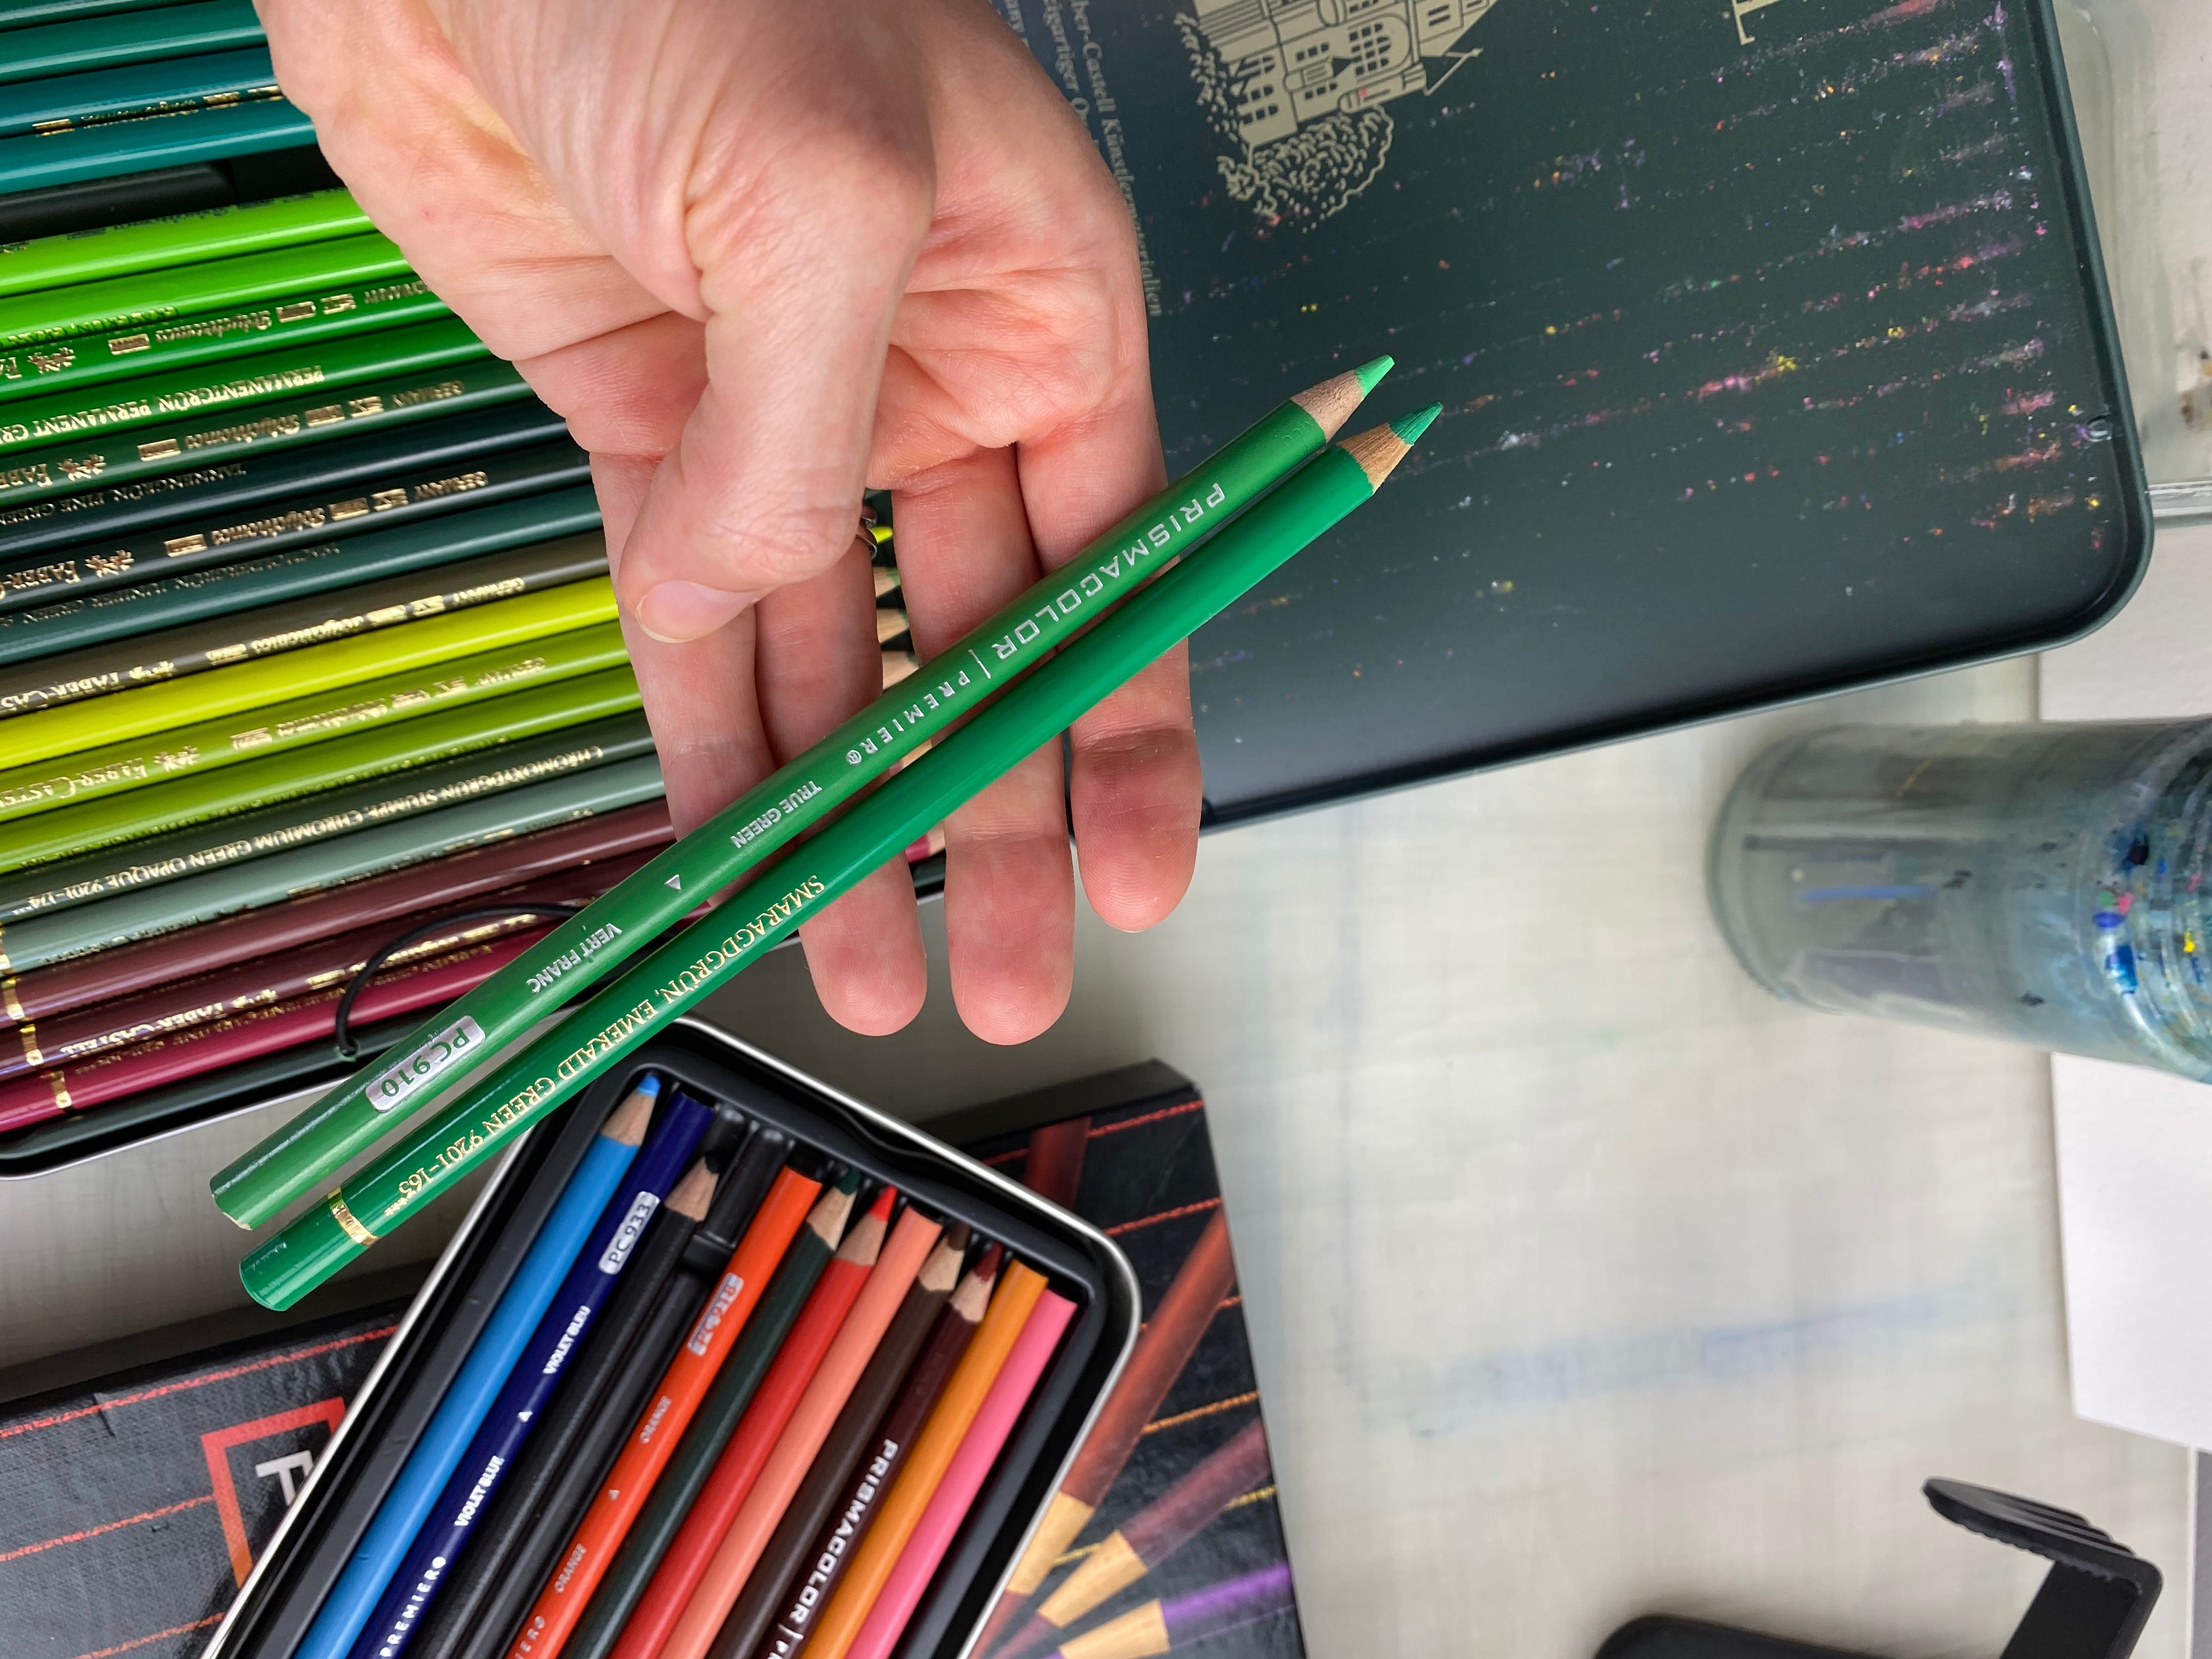
You can buy a small set of Prismacolor pencils, or even just a handful of Faber-Castell Polychoromos in the primary colors and you will have much better results! I think the colors you would need are: a primary red (like alizarin crimson), yellow ochre, cadmium yellow light, burnt umber or burnt sienna, hooker's or permanent green, ultramarine blue, phtalo or intense blue, violet, black, and white. If you can't find these exact colors, no worries: you can honestly get any color you need with a red, yellow, blue, black and white. If you have any specific questions about colors or brands, please don't hesitate to email me, and I hope to have the answer to your question!


2 comments
If the art jobs around me have no prismacolor and does not stock it. What alternative brand of pencils can I buy that is similar to prismacolor in that it is soft wax based.
If the art jobs around me don’t prismacolor pencils what is the alternative to prismacolor, the wax based pencils.