
Blog
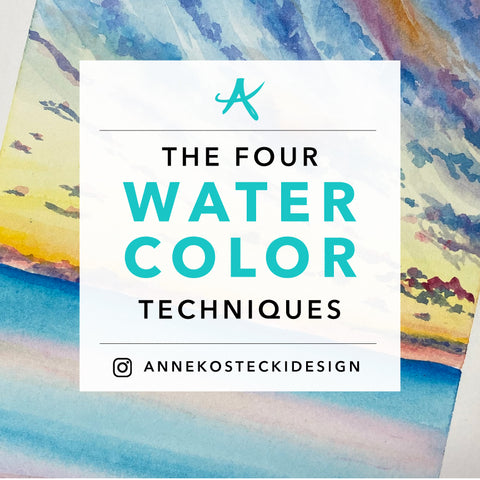
The 4 Watercolor Techniques
by Anne Kostecki

I'm sure there are technically more than 4 watercolor techniques, but today I'm going to talk about the main ones:
- Wet-on-Wet
- Wet-on-Dry
- Dry-on-Wet
- Dry-on-Dry
The water to paint ratio will change depending on what you're trying to achieve.
Too much water can result in colors that are too light. It can also make paint spread more than you'd like and cause colors to mix and become muddy.
Too little water can result in thick colors that don't flow or lay down properly, or cause visibly streaky brush strokes.
The key to control in watercolor is getting accustomed to exactly how much water is on your brush and your paper. This is something that takes time to master, and there is no shortcut to practice!
So tell me more about the techniques, Anne!
1. Wet-On-Wet Painting
Wet-on-wet means using a wet brush on wet paper. This is the most unpredictable of the techniques, but also the most "watercolor-y," in texture. In simplest terms, you take your paintbrush (probably a large, flat brush), dip in water, paint your paper, add pigment to your brush, and paint with a wet brush while the paper is still wet.
Here is an example of what wet-on-wet looks like:
If used correctly, this technique can get you the ultra-smooth gradients you see in washes of the sky, water, etc. I've seen some truly talented artists use wet-on-wet and get perfect gradients. I'm not so lucky, but here is a sample of what wet-on-wet can look like when it's dry:

The sky and the watercolor were both wet-on-wet. I carefully swished my flat brush to get the smoothest transitions possible. Wet-on-wet can be stressful for me because it's hard to tell if something will dry smooth, or if you will see lines or brushstrokes where you do not want them visible.
Wet-on-wet is great if you like watercolor texture, but also useful if you want smooth washes of color.
2. Wet-On-Dry Painting
This technique is using a wet brush on dry paper. You will have more control, but it really depends on the amount of water on your brush. Wet-on-dry will result in less blurring and fading than wet-on-wet, but it may still blur and mix if you glaze on top of other colors.

The above image shows an example of wet-on-dry; specifically in the sand dunes on the painting on the right, and the tree leaves on the painting on the left. Wet-on-dry allows you to achieve smooth fields of color, although since the paper is dry, the paint will stain the paper more. This means it will be harder to lift later if you change your mind about the color.
3. Dry-On-Wet Painting
Dry-on-wet is probably the technique I use the least, and like you've guessed by now, it means using a dry paintbrush on wet paper. This technique gives you more control than wet-on-wet, but as with any paint application on wet paper, you will get some blurring, fading, and unpredictability.

This technique is good for things like the texture of water (ocean waves are good to do with a dry brush on wet paper), clouds, smoke, fire, or anything else that has very subtle color shifts. On the painting above, I used dry-on-wet for the fire reflections in the smoke clouds.
4. Dry-On-Dry Painting
Dry-on-dry painting means using a dry brush on dry paper. Now, you may be thinking, "isn't this watercolor? how do you paint without water?" and that's a valid question! So, it doesn't necessarily mean you're using a bone-dry brush with pigment on dry paper, which would result in very scratchy, thick brushstrokes. Usually, when you are painting dry-on-dry, you use a very small amount of water on your brush.
My technique is to wet your brush, dry it a bit on a paper towel, and then add paint before putting it down on dry paper. This technique gives you the most control, but like wet-on-dry, the pigment will "stain" the paper and make it hard to lift out or change later. This is the technique I use for the greatest level of detail.

Dry-on-dry is usually the last technique I do for finishing touches on a painting. It allows you to get details like feathers, branches, and anything rough like rocks or bark. This technique might be the last one you try out if you are new to watercolor.
So those are the four techniques! I hope this was helpful for you. And please head over to my YouTube channel if you want to see more technique in action!


1 comment
this was very helpful thank you, so would wet on wet be best for paintings with bursts of color?